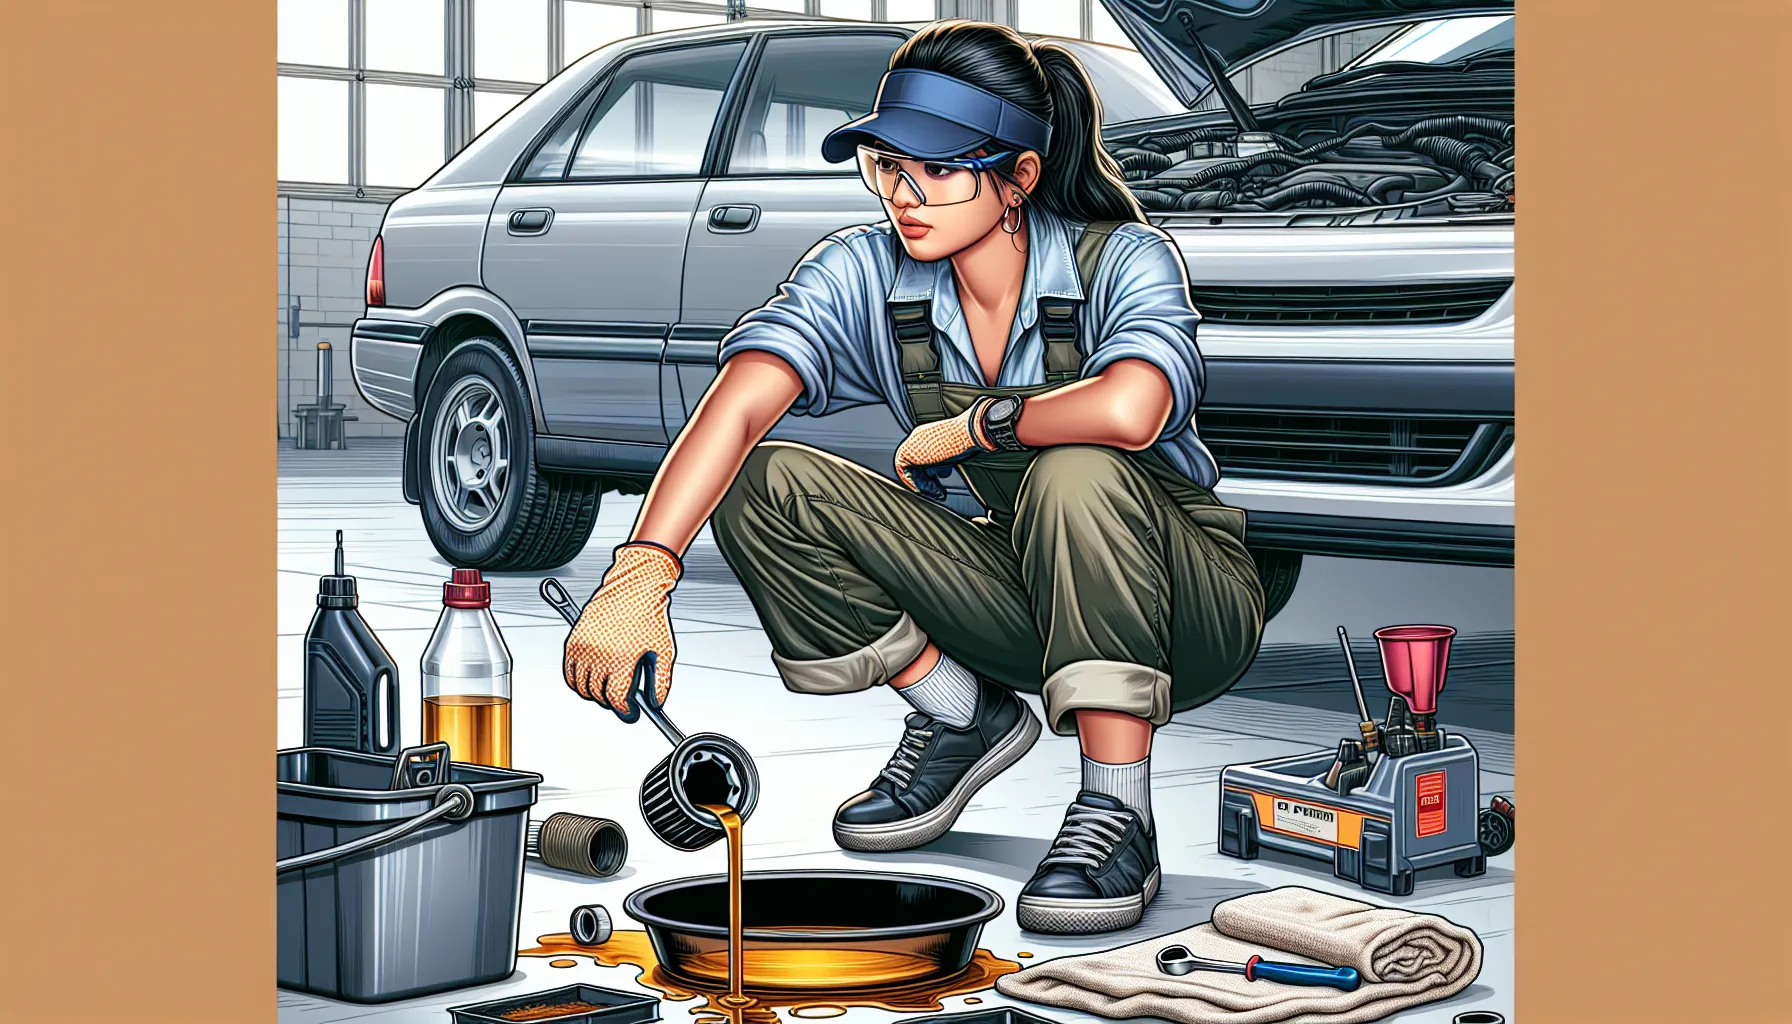
Engine Oil Change: How Regular Maintenance Saves Money and Extends Your Car’s Life
Sponsored Ads
When I think about keeping my car running smoothly, an engine oil change always tops my list. It’s one of those simple tasks that can make a significant difference in how my vehicle performs and its longevity. Skipping regular oil changes can lead to engine trouble and costly repairs down the road.
I know it’s easy to overlook this routine maintenance, especially when life gets busy. But I’ve learned that taking a few minutes to change the oil is a small investment that pays off every time I start my car. To keep your engine healthy and efficient, staying on top of oil changes is essential.
Why Regular Engine Oil Changes Are Important
Changing the engine oil on a regular schedule helps preserve engine performance and extend its lifespan. Fresh oil lubricates vital moving parts—like pistons, crankshaft, and camshaft—reducing friction that causes wear. Clean oil also helps dissipate heat, which prevents overheating and thermal breakdown of key components. Without frequent oil changes, I risk sludge buildup in the engine; thick deposits like these block passages, decrease oil flow, and eventually cause major failures or breakdowns.
Maintaining correct oil levels and quality protects the engine from contaminants, such as dirt and metal particles, that enter during regular operation. These contaminants, if left unchecked, cause abrasive wear—for example, scarring or scoring—on finely machined surfaces. Regular oil changes help maintain optimal fuel economy by reducing engine resistance, thereby conserving fuel during both daily commuting and longer trips.
Following manufacturer-recommended intervals, such as changing oil every 5,000 to 7,500 miles for most vehicles (source: AAA), minimizes the need for expensive repairs over time. My consistent oil change routine also reduces emissions, as cleaner oil enables more complete combustion and improved exhaust control. By prioritizing these routine steps, I maintain long-term reliability and avoid higher repair costs due to preventable engine damage.
Materials and Tools Needed

I gather specific tools and supplies before beginning an engine oil change to ensure efficiency and safety.
Essential Tools
- Oil filter wrench: I use this to remove the existing oil filter easily.
- Socket set or box-end wrench: I select the appropriate size to loosen and tighten the oil drain plug.
- Oil drain pan: I position this directly under the drain plug to catch used oil for proper disposal.
- Funnel: I employ this to prevent spills when adding new engine oil.
- Car jack and jack stands or ramps: I use these to lift and stabilize the vehicle safely for access to the oil pan area.
Recommended Supplies
- Engine oil: I choose the oil grade (for example, 5W-30 or 0W-20) specified in my car’s owner’s manual.
- Oil filter: I match this with the manufacturer’s specifications for my car model.
- New drain plug washer: I replaced this to prevent leaks if recommended by the manufacturer.
- Shop towels or rags: I keep these on hand to clean up drips and wipe hands.
Safety Equipment
- Disposable nitrile or latex gloves: I wear these to protect my hands from used engine oil and chemicals.
- Safety glasses: I use these to shield my eyes from splashes.
- Wheel chocks: I place these behind the wheels to prevent unintended movement if the vehicle rests on inclines.
Preparing for an Engine Oil Change
Thorough preparation maximizes safety and effectiveness during an engine oil change. I use targeted steps to ensure optimal results.
Choosing the Right Type of Oil and Filter
Selecting the correct oil type and filter for my vehicle depends on several factors. I review my owner’s manual to confirm viscosity, such as 5W-30 or 0W-20, and oil specification. I check manufacturer recommendations for synthetic vs. conventional oil based on climate, engine design, and driving patterns. I also verify the filter’s part number to avoid compatibility issues and ensure proper filtration, using examples such as Fram or Mobil 1. I purchase enough oil to meet my engine’s specified capacity.
Warming Up the Engine
Warming up the engine helps the oil flow out smoothly and fully during draining. I idle my engine for 3 to 5 minutes to raise the oil temperature slightly if the engine is cold. I proceed only when the engine feels warm but not hot to the touch, as high temperatures, such as those over 130°F, increase the risk of burn.
Securing the Vehicle
Securing the vehicle prevents accidents while I work under it. I park on a level surface and engage the parking brake. I block the rear wheels with wheel chocks for stability and lift the car using a jack rated for my vehicle’s weight. I support the frame with jack stands or use ramps, not solely the jack. I confirm vehicle stability by gently rocking the car before moving underneath.
Step-by-Step Guide to Changing Engine Oil
I follow these steps to change engine oil efficiently and reduce risk during maintenance. Each step utilizes essential tools and best practices to ensure my car’s safety and optimal engine health.
Draining the Old Engine Oil
I remove the oil filler cap to allow better oil flow. I position the drain pan directly beneath the drain plug and use a socket wrench to remove the plug. I let the oil drain completely for about 5–10 minutes. I confirm that the pan catches all the old oil to prevent spills.
Removing and Replacing the Oil Filter
I use an oil filter wrench to loosen the oil filter. I rotate the filter counterclockwise and carefully remove it since residual oil may spill. I lubricate the rubber gasket on the new filter with a small amount of fresh oil. I screw on the new filter by hand and tighten it snugly, which prevents leaks but avoids overtightening.
Installing the Drain Plug
I wipe the drain plug and the oil pan opening with a clean shop towel. I inspect and replace the drain plug washer if needed. I thread the plug back into the pan by hand, ensuring it is not cross-threaded. I tighten the plug with a wrench but avoid overtightening to prevent damage.
Adding New Engine Oil
I insert a funnel into the oil filler hole to prevent spills. I pour in the recommended amount and type of new engine oil specified in my vehicle’s manual. I check for leaks around the filter and drain plug after filling the tank.
Checking Oil Level and Quality
I wait several minutes for the oil to settle in the pan. I pull the dipstick, wipe it clean, reinsert it thoroughly, then remove it again to check the oil level. I confirm that the oil reaches the upper indicator mark and that the color looks clear and amber. I add more oil as needed until the correct level displays.
Disposing of Used Oil Properly
I transfer the used oil from the drain pan to a sealed container. I deliver all used oil and the old oil filter to a certified recycling center, auto parts store, or hazardous waste facility. I confirm the drop-off location accepts used motor oil to ensure responsible disposal and comply with environmental regulations.
Tips and Warnings for Engine Oil Change
Engine oil changes enhance engine life and reduce costly breakdowns. My experience confirms that careful preparations and safe handling lead to smooth and effective results.
Tips for a Cleaner Oil Change
- Place a large drip pan under the oil pan before loosening the drain plug to prevent spills on the surface.
- Cover the engine and fender with old towels to prevent stains when handling old filters or tools.
- Pour fresh oil slowly through a wide-mouthed funnel to limit splashes and overflow around the filler neck.
Common Mistakes to Avoid
- Tighten the new oil filter by hand only, avoiding over-tightening with a wrench to prevent gasket damage and future leaks.
- Always replace crush washers or O-rings on the drain plug with every change to avoid persistent drips.
- Confirm that the old filter’s rubber gasket detaches along with the filter to prevent a dangerous oil blowout.
- Use only oil grades and capacities listed by the vehicle manufacturer for optimal lubrication and safe engine operation.
Environmental Considerations
- Collect used oil in a sealed, approved container and deliver it to a certified recycling center, such as AutoZone, Advance Auto Parts, or a municipal hazardous waste depot.
- Store spent oil filters upright in a zippered plastic bag until they are ready for recycling to prevent seepage.
- Never dispose of oil or oily rags in trash bins, on the ground, or in drains because oil runoff pollutes groundwater and violates local laws.
Troubleshooting Common Engine Oil Change Issues
Identifying and resolving engine oil change issues ensures optimal engine performance and prevents further problems from arising. I employ specific approaches to address frequent challenges and maintain a successful oil change process.
Dealing With Stuck Oil Filters
Removing stuck oil filters often requires a persistent technique and the right tool for engines with persistent buildup. I use a band-style or claw-style oil filter wrench to grip the filter base for improved control. Piercing the filter dome with a screwdriver sometimes increases leverage for filters that resist turning, although I only use this method if I intend to discard the filter. I inspect for old gaskets left on the mount, as double-gasketing can cause further sticking.
Fixing Leaks After an Oil Change
Fixing leaks after an oil change focuses on seating and sealing during assembly for engines prone to persistent drips. I immediately check the oil filter and drain plug for correct installation, since loose or overtightened connections create gaps. I verify that the oil filter rubber gasket aligns cleanly on the engine, and I always use a new drain plug washer when specified. I look for oil pooling under the car or along seams, and if leaks continue, I clean all surfaces and recheck connections for proper fit.
What to Do if You Overfill Engine Oil
Addressing overfilled engine oil quickly protects engines from foaming or pressure buildup. I use a hand-operated oil extractor or loosen the drain plug to remove excess oil, collecting it into a container for environmental safety. I then check the dipstick level and repeat the removal process until the oil registers between the recommended marks. If I’m uncertain about how much to extract, I remove oil gradually and inspect the dipstick between attempts to avoid further overfilling or running low.
Alternative Methods and Professional Services
Multiple options exist for engine oil changes beyond traditional DIY methods. Alternative methods and professional services save time and provide convenience for busy schedules or challenging situations.
When to Consider Quick-Lube Services
Quick-lube services provide fast, comprehensive oil changes that cater to tight time constraints and those with limited vehicle maintenance expertise. I prefer quick-lube centers for same-day service when I don’t have sufficient time or tools, as they usually complete oil changes within 30 minutes. Many locations inspect fluid levels, air filters, and tire pressure, improving overall vehicle upkeep. Major providers, such as Jiffy Lube, Valvoline Instant Oil Change, and Pep Boys, standardize oil grades, use certified disposal processes, and often maintain digital maintenance records.
Using Oil Extractors
Oil extractors remove engine oil through the dipstick tube, bypassing the need to lift the vehicle or remove the drain plug. I use vacuum-based oil extractors in tight workspaces or for engines with hard-to-reach drain bolts. These devices minimize spills and streamline cleanup, making them popular with boat and European car owners. My experience shows oil extractors work best for horizontally fitted oil pans and regular maintenance schedules. If sediment is common in older engines, removing the drain plug may still be necessary for thorough cleaning. Oil extractors provide a practical alternative when safety, cleanliness, or vehicle design precludes the use of traditional drain-and-fill methods.
Conclusion
Taking care of engine oil changes is one of the simplest ways I keep my car running smoothly and avoid surprise expenses down the road. When I adhere to a regular schedule and utilize the right tools and products, I know I’m safeguarding my investment and achieving the best possible performance.
Whether I do it myself or let a professional handle it, I always ensure the job is done correctly. It’s a small effort that pays off with peace of mind and reliable driving every time I hit the road.
Frequently Asked Questions
Why are regular engine oil changes necessary?
Regular engine oil changes keep your car’s engine running smoothly by lubricating moving parts, reducing friction, and removing contaminants. This helps prevent engine wear, overheating, and costly repairs, while also extending the vehicle’s lifespan and maintaining fuel efficiency.
How often should I change my engine oil?
Most manufacturers recommend changing engine oil every 5,000 to 7,500 miles; however, always consult your vehicle’s owner’s manual for specific guidelines. Driving conditions, oil type, and the age of the car can affect the ideal oil change interval.
What tools and materials are needed for an oil change?
You’ll need an oil filter wrench, socket set, oil drain pan, funnel, car jack with jack stands or ramps, engine oil, new oil filter, drain plug washer, and shop towels. Safety equipment, such as gloves, safety glasses, and wheel chocks, is also recommended.
How do I dispose of used engine oil and filters?
Used engine oil and filters must be taken to certified recycling centers or auto parts stores that accept them for proper disposal. Never dispose of oil in the trash, drains, or on the ground, as it is harmful to the environment and often illegal.
What are some common mistakes to avoid during an oil change?
Common mistakes include over-tightening or under-tightening the oil filter, forgetting to replace the drain plug washer, using the wrong oil type or quantity, and not properly securing the vehicle before starting the oil change.
Can I change my engine oil myself if I’m a beginner?
Yes, with the right tools, safety gear, and step-by-step instructions, beginners can safely change engine oil. Please make sure you follow your vehicle’s manual and observe all safety precautions for optimal results.
What should I do if I overfill my engine oil?
If you overfill the engine oil, use an oil extractor or carefully loosen the drain plug to remove the excess oil. Please always check the dipstick to ensure the oil level is within the recommended range after making adjustments.
What if the oil filter is stuck during removal?
If the oil filter is stuck, use a band-style filter wrench for extra grip, or carefully pierce the filter with a screwdriver for leverage. Be cautious not to damage any engine components during removal.
Is it necessary to warm up the engine before changing the oil?
Yes, running the engine for a few minutes before changing the oil helps warm the oil, allowing it to drain more smoothly and thoroughly. This helps remove more old oil and contaminants.
Are there professional services or alternative methods available for oil changes?
Yes, quick-lube services can change your oil quickly and may include inspections of other fluids and components. Oil extractors are also available for removing oil through the dipstick, offering a cleaner option for some vehicles.


